Pages

Stretch your table to full page

In a previous blog I mentioned dynamic stretching table height with the autoHeightRows property. However, I have noticed people are having more troubles with stretching the height of the table.

This time I will focus on stretching your table to fill the total page height. We start with a simple ADF table on the employee table, showing all employees. Although I have seen more complex questions, including regions and more components in the structure, it all comes down to the same principle. I created a pretty straight forward jsf file with the following structure:


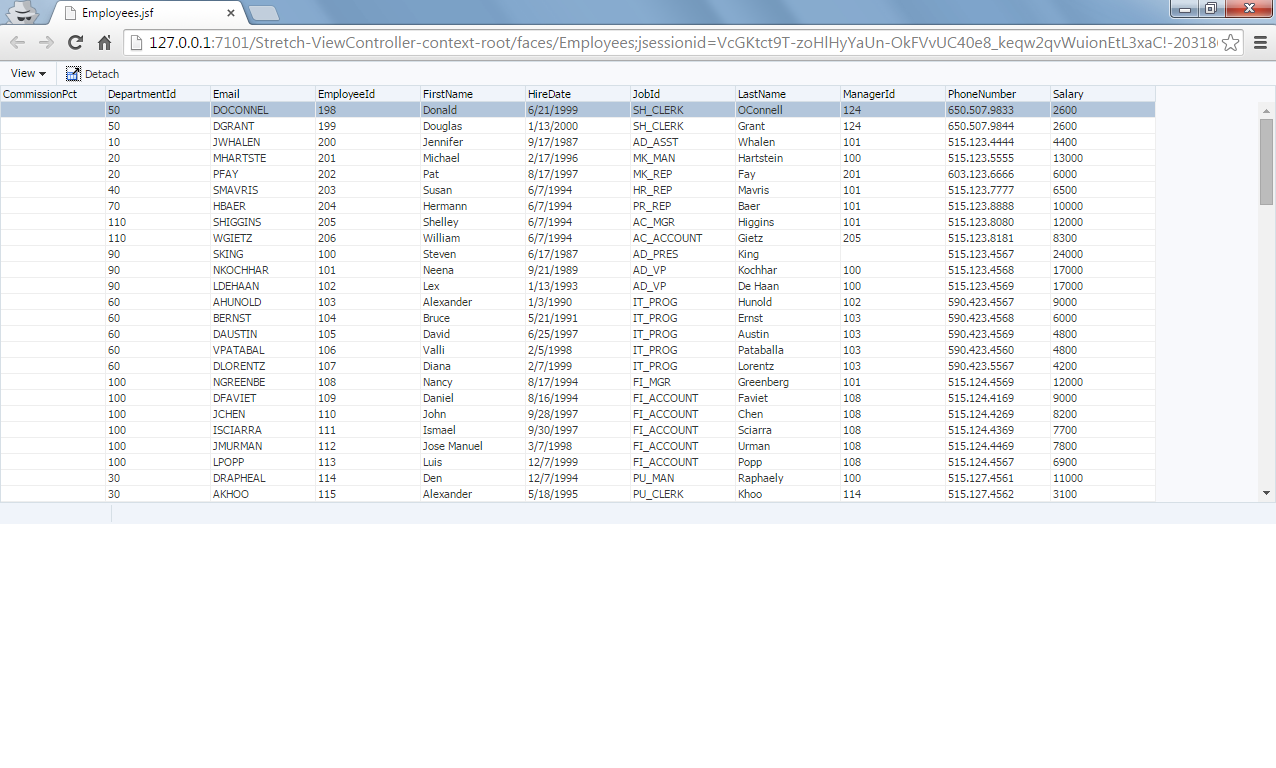
On the panelCollection I have set the styleClass AFStretchWidth to stretch the table to the full width of the page, however, by default it will not stretch the full height, but it will look like this:

Especially when you have a more complex structure, with more layout components in your page, it is easy to think you configured something wrong, however, this is the default behavior even when you use the panelStretchLayout.
In the documentation of the panelStretchLayout you can read up on the Geometry Management, it is important to focus on the section about the ‘dimensionsFrom’ property. The default value is read from the web.xml context-param ‘oracle.adf.view.rich.geometry.DEFAULT_DIMENSIONS’ which results in ‘auto’.
However, for our page we want the table to take the dimensions from parent. You can set the dimensionsFrom="parent" on the panelStretchLayout on your page, or you can override the default in the web.xml parameter.
The result will be the same, a table shown over the full page:


XML Data Control Article

Today Oracle published our article about the ADF EMG XML Data Control. With the article, also comes an extensive two part tutorial, go check them out at OTN:

Powerful and Easy ADF Data Control for XML Data
Article
Tutorial
Enjoy reading and if you have any comments or remarks, let me know!

Other Resources:
ADF EMG Community
XML Data Control wiki


Clear ADF 12c deployment on Integrated WLS

Sometimes you want to cancel your Integrated WebLogic Server, however, if you do this while a deployment is currently going on, you might run into trouble. The log window will not tell you anymore than a remote deployment failed and that the Application can not be run:


You need to clear some directories in your JDevHome before the application deployment works again. Before clearing the directories, make sure you close JDeveloper.

Go to the folder: JDevHome\system<versionnumber>\o.j2ee\drs
In here you should see your application that you try to deploy you can delete that folder or you can delete all the folders in this directory. They will be recreated for you when you run the specific application.

Next, go to the folder: JDevHome\system<versionnumber>\DefaultDomain\servers\DefaultServer
In here you should delete the ‘tmp’ folder.

After you deleted the folders, restart JDeveloper and run the application again.
You should now be able to deploy your application again to the Integrated WebLogic Server.


Exclude folders from you subversion update

Working in an IT project, means working with version control. A lot of times, this means subversion in combination with Tortoise SVN. In bigger projects it sometimes happens there are folders in the tree structure that you are not really interested in. 
It is a good things, that you can exclude this folders from your update, so you don’t get distracted by de commits done on folders you don’t care about. 

When you check out a new repository it is possible to press the button ‘Choose items’:

This will give you a popup from the Repository Browser and you can tick on and off the folders that you want:

This is a great feature. However, once you select this, it can be hard to find back this option. As the world around us changes, you might want to see updates in a folder you excluded or you want to exclude even more folders.
When you go to your Tortoise SVN menu, select the option ‘Update to revision’:

This will open the Update menu and here you see again the option ‘Choose items’:

Clicking this button, brings you to the same Repository Browser view:

So whenever in the need of changing your previous selection, you can tick and untick your previous choices.


Using Code Snippets in JDeveloper

In JDeveloper, it can be helpful to set up code snippets to be of easy use later. Personally I use this mainly to set up code snippets for demo purposes and this is rather easy to set up.
First of all, if not already open, open your Components Window in JDeveloper: 

Now open the file that you want to create the code snippet from, this can be any file in JDeveloper as example I opened a Java file with a main method in it. After you have opened the file, you should see a choice list in your Component Pane in JDeveloper.
In this choice list select the option ‘My Components’ and open the ‘Code Snippets’ area:

In the file you opened, select the part of the file that you want to save as a snippet and drag and drop this to the Code Snippets area:

After this a pop up should appear to enter a name for the snippet, enter a name and press OK:

The result should be a saved code snippet on the Code Snippets area when My Components is selected:

You can now drag and drop this code snippet into any other file to create the exact same code as you have saved.


Create a Custom ADF Component

During UKOUG Tech14 in Liverpool, Wilfred and I had a presentation about how to create your own Custom ADF Component. Since we were busy on preparing the presentation there were no blogs about these beforehand.
I thought it would be nice to give a small recap, for anyone interested in going into creating Custom ADF Components.

In our sample application we created an ADF Component called ‘multi select’ which offers the user the ability to show a list of items and the ability to add items, delete items and select an item. The result is the component within the red line:

During our presentation, we had an overview of the components involved in creating a custom ADF component. The overview looked as followed:

The slide deck on slideshare will take you through these components, the responsibilities and the code involved in creating this component. We have added comments to the code in the slides, so you are able to follow this without our voice over. The server side classes are all Java classes as where the client side is all JavaScript. The Skin is created in a css file using the ADF skin style.

At the end of the slide deck there is a slide with links to several documentation, we advise you to keep links to these documents close by you while starting to code your component. As you will see, we link to documentation from the ADF release 11.1.2.4 while we have build our component in ADF 12.1.3. This is because Chapter 31 ‘Creating Custom ADF Faces Components’ is not available in the 12c Documentation.
Last but not least, all our effort is available on a github repository, both the Custom ADF Component we have created as well as an example of a consuming ViewController project using this multiSelect component.

Resources:
- Presentation: http://www.slideshare.net/ROlrichs/adf-component-tech14
- GitHub Repository: https://github.com/wvanderdeijl/adfcomponent

JDeveloper Debugging Tips (Watchpoints & Beep)

In a previous blog post I talked about scoping breakpoints for debugging purposes, next to scoping breakpoints JDeveloper has more interesting debugging features to offer.

I created a simple example to show both the watchpoint as well as the beep functionality. To illustrate this, I created a page with an inputText and a button, both bound to a backingBean. 

This  is the jsf code:


The code from the bean is also pretty straight forward:
   private String value = "value";

    public void setValue(String value) {
        this.value = value;
    }

    public String getValue() {
        return value;
    }

    public void changeValue(ActionEvent actionEvent) {
        value += "!";
    }

Now imagine that I want to halt execution everytime the bean field value changes. I can simply right-click the field and choose ‘Toggle Watchpoint’:

This will show a nice sunglass instead of a breakpoint in the line gutter:


I also want to be informed when the getter of the value is called, however, I do not have the need to be redirected to JDeveloper and press F9 again to continue. I just want a signal that we have been inside the getValue() method, in this case a beeping sound.
To do this, you place a breakpoint in the getter, right-click on it and go to ‘Edit Breakpoint’.

Go to the Actions tab, in here unselect the ‘Halt Execution’ option and select the ‘Beep’ option. You will hear a beep when the breakpoint is reached, but it will not force you into JDeveloper.


If you run the page, you will hear a Beep whenever the getter is called, so you recieve a signal of this action. Whenever the field value is changed, it will take me into JDeveloper and halt the execution, this means it will halt execution in the method when I press the button on the screen, while there is no explicit breakpoint at this point in the code:

You can also see the old and new value in the log window: