Pages

Jarvis Pizzeria: Different presentations for the same WebForm

In a previous blog we created a default WebForm for the Pizza Preparation process. In each human interaction of the process we used this default WebForm with the default presentation. In this post we will create a different presentation for each human interaction in the process.
  1. Crust Preparation Will only show the pizza name and size. Both fields are editable.
  2. Filling the Pizza Shows alle data. The pizza name and size are read-only. The ingredients are editable. It’s also possible to add or remove ingredients.
  3. Put in Oven All data is shown read-only.
  4. Get out the Oven The Pizza naam and size are shown read-only.

As a starting point for this blog, we use the end result of the above mentioned blog. We begin by adding presentations to the IngredientsWebForm.
The Main (Default) presentation of the Form.
This is the form we have used for all different presentation. At the form properties level there is an option to specify so called ‘presentations’. The image below shows the 4 newly created ones.

Each presentation is derived from the Main presentation, but this is optional.

After creating the presentations, it is possible the switch between them easily.

Switch to each of them one-by-one and change the component properties to represent the required views given at the top of this post.


For example for the first presentation the table with ingredients is not visible. Select ‘Hide’ for the table component. After doing this for all presentation we have to update the process to use the correct presentation in each task. An example, for the Prepare Pizza Crust, is shown below.


After doing this we are done. We re-deployed the application to test the complete functionality. The following images show all 4 different presentations of the Form.

Crust Preparation - Will only show the pizza name and size. Both fields are editable.


Filling the Pizza - Shows alle data. The pizza name and size are read-only. The ingredients are editable. It’s also possible to add or remove ingredients.


Put in Oven - All data is shown read-only.


Get out the Oven - The Pizza naam and size are shown read-only.


As a conclusion we think that using presentation is a very easy and fast way to show data in different presentation. Presentations gives the GUI developer a major productivity boost.

ODC APAC ACED Tour 2017

This spells out the Oracle Developer Community Asia-Pacific ACE Director Tour 2017, thankfully we can put a lot of abbreviations in there, because that is a long name. So I went on the ODC APAC ACED Tour 2017, altho I only did one third of it, I visited both New Zealand and Australia. Being in the great company of Debra Lilley, we travelled to Wellington, Auckland & Sydney, to spread the word about the great SaaS & PaaS products Oracle has to offer and to enlighten these community events with our appearance.


Big thanks to the NZOUG for having us in Wellington & Auckland as well as a thanks to the IAOUG for having us in Sydney and the Ace Program for their support! I did a total of 7 presentation, on the topics of ADF, VBCS & PCS, a good mix for a good spread of content among our attendees.


Instrumenting, Analysing & Tuning an ADF Application, this session was basically all about gaining insight into what is going on in your ADF application. How can you monitor the application and pinpoint your top Performance problems. What are key areas of ADF to have a look at and what are generic tips & tricks to improve the overall performance of your ADF application.


Build your Hybrid application with VBCS, an introduction to VBCS from a developer's point of view. This sessions shows you the insights of VBCS. What is the power and how can you use this Rapid Development Tool to your advantage. Within 45 minutes a application is created for both Web & Mobile use, a data model is created, an overview page that calls an REST api and data is being loaded into the application. After these session, the application is live, up & running in production!


Implement your business process within PCS, a Jarvis Pizzeria use case that takes you through the Process Cloud. Within this session an introductory overview of PCS is given where the attendee is provided with the Jarvis Pizzeria use case and shown how easy it is to create your business process in the Oracle PaaS product PCS. Integrations, Decision models, Human Tasks, the Workspace, tasklist & many more features are discusses and explained within this presentation.


So my trip ends in Sydney after one week, three conferences in three different cities and seven presentations. This leaves Debra behind, since she will continue the tour in Australia. I wish you all the best and thank for the incredible week we spent together! See you soon back in Europe :)

Jarvis Pizzeria: Notification Task in PCS

So far we have covered most standard components of the PCS suite. However, we haven’t looked at the “Notification Task” in-depth yet. We have used the on-premises variant at various projects but it was the hassle of setting up the User Messaging Service (UMS) that made you reluctant to use this feature on beforehand. Will the PCS variant be a gamechanger? Let’s find out!
We implemented a basic process with a standard notification task and configured it to send an email to marc.kuijpers@rubix.nl. The implementation details are shown below:


We deployed the process and sent a SOAP message to the corresponding endpoint. Looking at our instance in the workspace we see the following successful instance:
Yaaay! But before we ship this version to a production environment let’s see if we have received an email…..Unfortunately the answer is no :(
Hmm, have we missed a setting? Do we have to configure something? Crawling to the settings in the Business Process Workspace we encountered the infrastructure tab. And it turns out that this is the place where we can configure the notification service.


We filled in the notification e-mail and got a verification e-mail afterwards:
Having activated our e-mail address, PCS sends us a confirmation e-mail:
So let’s run the instance once again. And there it is….a notification e-mail sent by PCS:

We’d have to say that the notification task in PCS is a very easy-to-use feature. You have a provisioned, pre-configured mail server at your disposal. This will save you time and hassle with setting up the UMS settings - which is a tedious and technical chore - in the Oracle EM as you were used to in the on-premises variant.  Developers might choose for a custom built e-mail service to send notifications for business purposes. However, for administrator notifications it can be a very powerful and handy feature that should deserve a consideration in your next PCS implementation!

Jarvis Pizzeria: Workaround for XSD list-element issue in WebForms

In a previous blog we have made notices that it is not possible to create a Webform based on a xsd-type that contains a list elements. In our case a list of pizza ingredients.
In this post we will give an alternative way to create a webform that displays the data, including the list of ingredients. For this we have created a new form IngredientsWebForm.
As we tried before, It does not work to drop the full business object on the canvas. Therefore, we have now made up the form of separate components. 4 input text components, of which 2 are listed in a table component and a number component that is also displayed in the table. This results in the following format.
This is the form we will use for all different presentation (one of our next posts will be about different presentation of one and the same WebForm), but first we will use it in its default. In the top left corner you see that this is the main presentation which is also the default. It is quite logically that it is the default, because it’s the only one :-)
After saving the WebForm we go back to the process to update the various tasks.
For each task we have switched the form reference to the new IngredientsWebForm. The below example shows this for the ‘Prepare Pizza Crust’ task. The example also shows that the Main presentation is selected for the task.


The next thing to do is to fix the data association between the process and the WebForm. For this, we open the Data Associations for the first task. On the input side we make the mapping of the incoming data (via the Business Object) with the fields on the IngredientsWebForm. On the output side we go the opposite way.
But first the input side.
As you can see only the transfer of source to destination is not sufficient. There is a sub-transformation required. Luckily in PCS that is not very difficult. By clicking on the redbox a menu appear with currently one option (transform). Select this.
This brings the following screen.
Click Create to create a new transformation.
Specify the name for the transformation and click Create again.
Create the mapping / transformation.
Save the transformation. This brings us back to the parent transformation. Now the redbox disappeared and the equals sign is replaced by a multi-arrow sign.


For the output side something similar is needed. We suffice with giving a couple of screenshots of one of the implementations.


The table transformation
We have repeated the association between the process and the tasks for all 4 tasks.


Now it’s time to see if this solves the issue. So let's run a test. We deployed the application and executed a SOAP test. As can be seen below, now all Ingredient details are visible.
All 4 HumanTasks in the process use the same WebForm and they all show the same data in the same way. In another post we will describe how to implement different presentations for the same WebForm in a way that every task has it’s own dedicated appearance.


When testing this functionality we ran in a minor issue in the PCS version we used (17.2.3).
On the ‘Track Instance’ page we see the newly started instance.
Select the ‘>’ sign on the right to view the details. The ‘Prepare Pizza Crust’ activity is running.
Launch the Form to see the created WebForm and then ‘APPROVE’ it, or directly select ‘APPROVE’. Both is possible. It doesn't matter which one you choose to get the problem visible.


In the image below you can see that the Graphical view moved on to the next task in the process flow, while the open activities is still on the first task.

A simple refresh is required to get the right task available. It is just a tiny problem but quite annoying in use. So hopefully it will be fixed in the next release.

Jarvis Pizzeria: Human Tasks: Design First WebForms in PCS

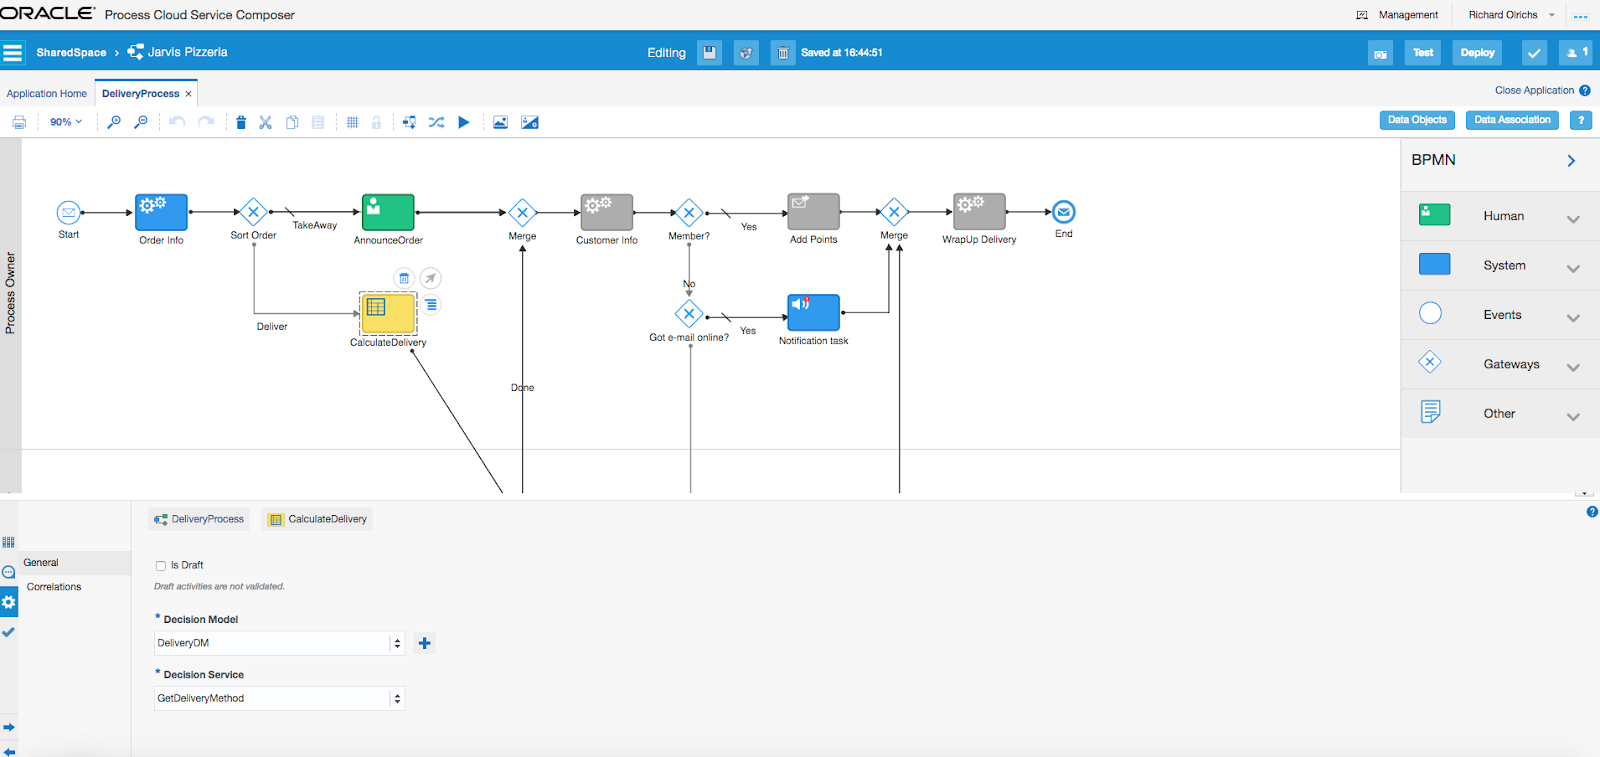
To create simple Human Tasks we use web forms in Process Cloud Service (PCS). Within the Delivery Process of the Jarvis Pizzeria, we are going to implement the HT for ‘Try Contacting the Customer’. This human task should become available after we have checked that the Customer is not a member and we do not know his email address.  
Try contacting the non-regular / member from Jarvis Pizzeria, in the swimlane of the CallCenter.


We will take the Design First approach, meaning we will design the form and know what data objects we need afterwards, instead of looking at the data we need for the Human Task first.
This means we can start by creating a new web form.


In the properties window from the task we click the add ‘+’ icon next to the Form.


We want to, but also only can select the ‘New Web Form’ option, the basic form is the old form used in previous versions of PCS. It is still available in the engine for backwards compatibility. Selecting this option will open the ‘Create New Web Form’


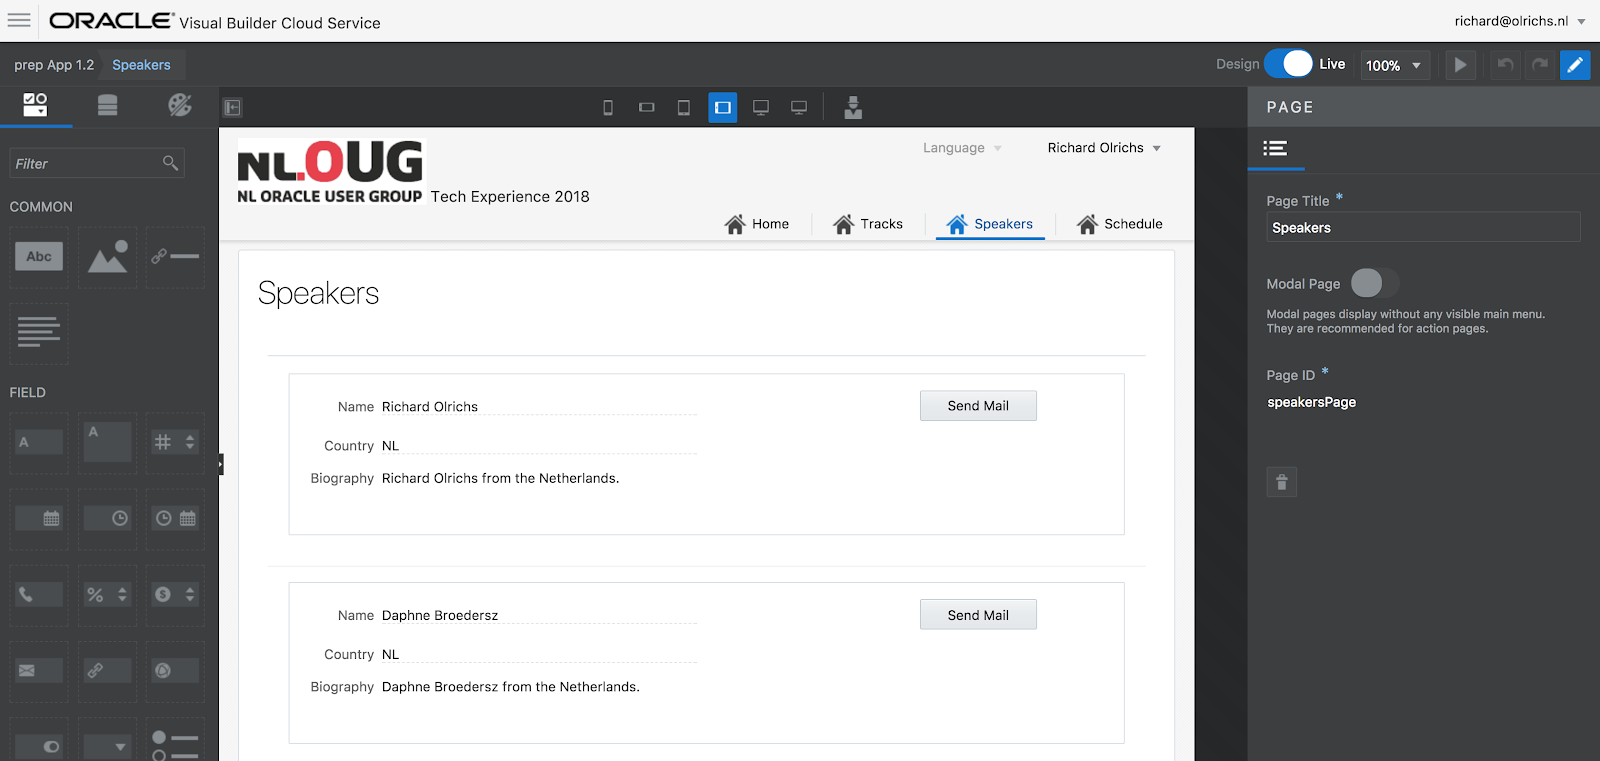
After filling in the fields, we click the create button. Because the ‘open immediately’ checkbox is selected, this will bring us to the designer of the web form. We will create the web form by simply dragging and dropping the components from a pallet to the page. This page will show all available data from the order / customer that is available and needed for the task.


For the date & time that the customer is contacted, we want to use the current dateTime as the default value. When selecting a component or after dropping it on the page the properties will be displayed. In the properties we select that this value is a computed value and click the edit button.


This brings up a configuration screen, in here you can select several predefined functions. In our case we select the current date time function for the contactTime field.


Besides computed & default values, it is also possible and quiet easily so to call integrations for data. Within the web form we want to make it possible to select a favourite pizza for the potential customer, so we know what pizzas the customer likes.
After selecting the dropdown box that is on the page with the name ‘favourite pizza’ we scroll to the section where we can select a source in the properties. Here we can choose an already existing connector that we have already defined.
In this case we select the Rest connector FavPizzaRC, after doing that we can see the available resources on this connector. Once we have selected the FavPizzas resource we can select the operation of which we want to expose the data in the dropdown.


After selecting the source, the response options can be selected with help from the properties as well. When selecting the ‘Options List’ it autocompletes the response location. The same goes for the label and value binding, you can select the values if you have correctly configured the steps above.


Now that we have created the default value and the dropdown, lets press the Preview button to find out how the web form looks.
Within PCS, the preview modus of the web form is started and you can select different devices on which you want your form to be shown. In our case we want to have a look how it will be presented on a tabblad.
You can see that the current date time is inserted as defaultValue for contactTime.


Even in preview modus, when selecting the Favourite Pizza dropdown, the Rest service will actually be called and you can see the data that is returned from the service.
This is how easy it is to create a simple human task with the help of the web form technology within PCS. You can do even more advanced stuff within the form, but for most use cases an extra Rest call or populating some default data should be sufficient.
So we choose to cover and focus on these functions within the web form.